
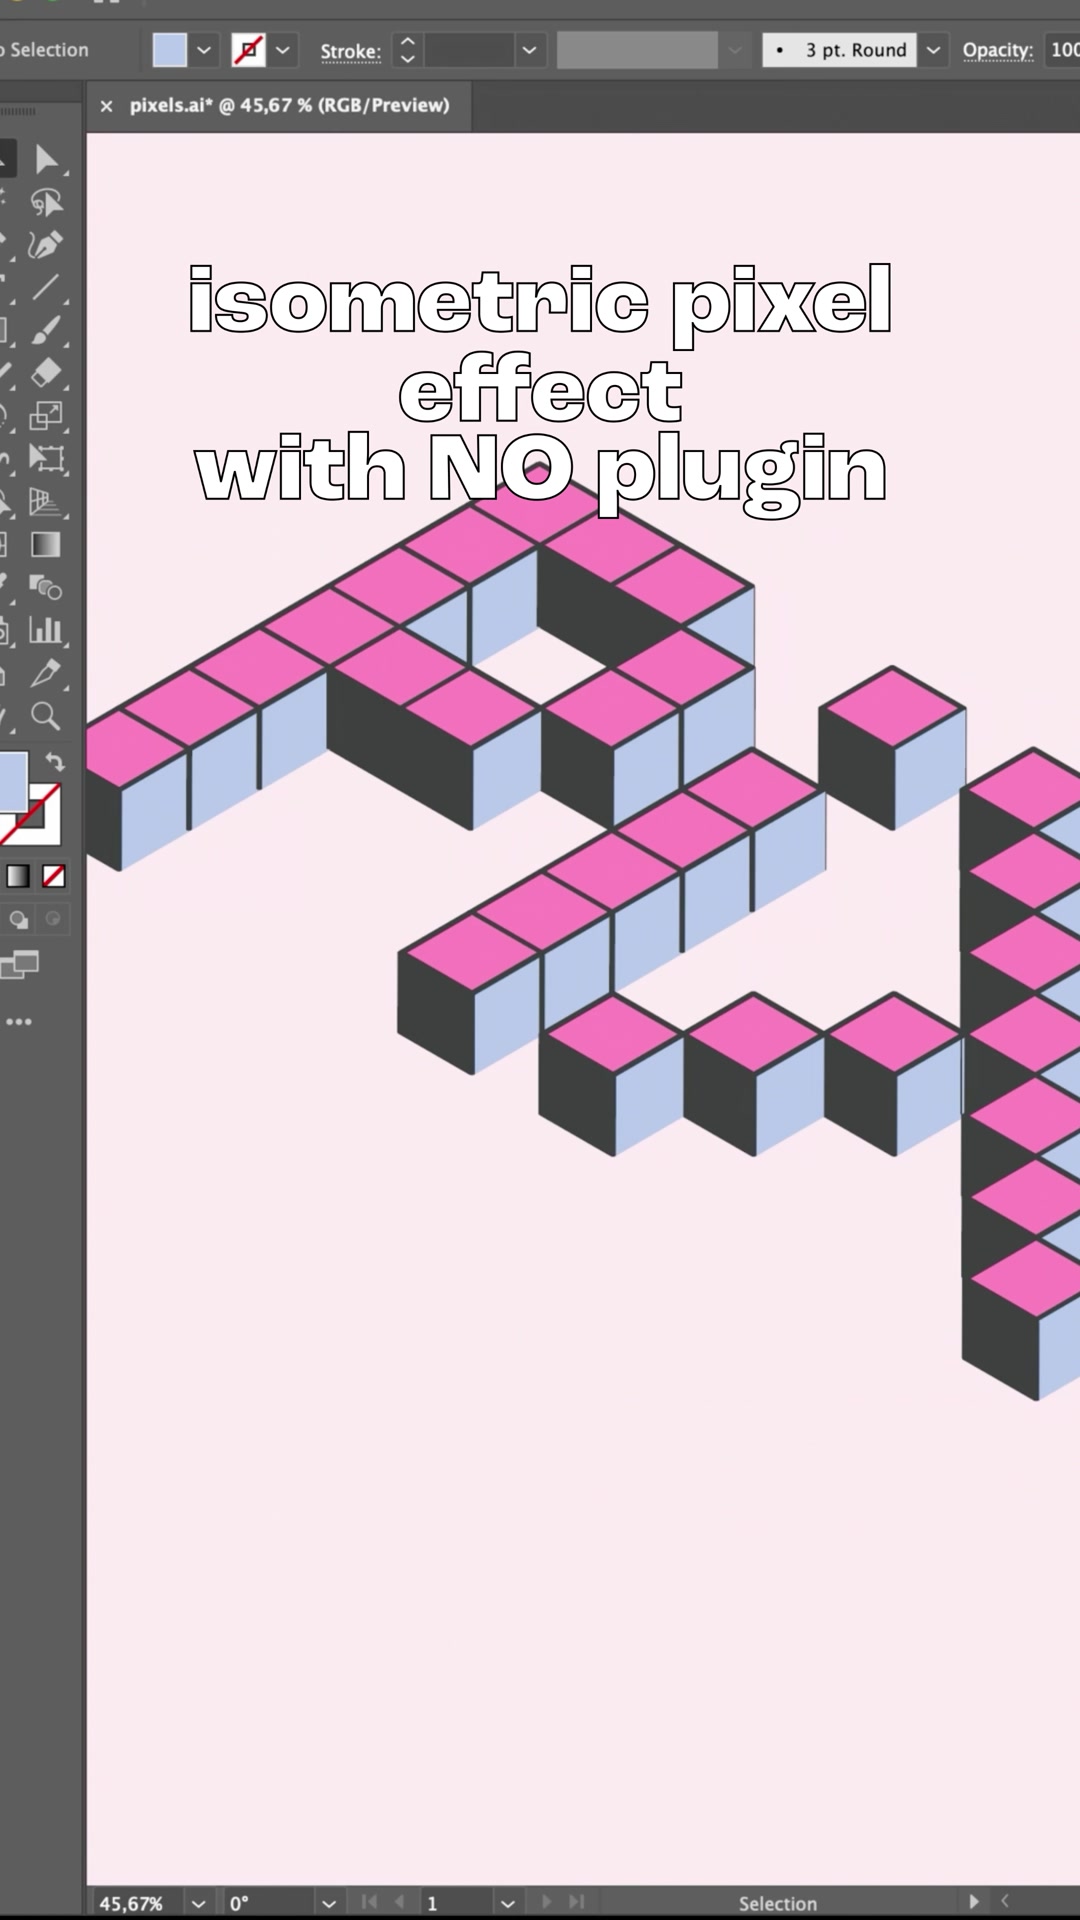
Isometric Pixel Effect
The idea
Pixel letters are cute. Pixel letters standing up in 3D like little stacked cubes are even cuter, and they make a great logo, poster headline or game inspired graphic. In Adobe Illustrator you can build them without any plugin: paint the pixels on a grid, extrude them with the classic 3D effect in an isometric position, expand, and recolor the faces however you like.
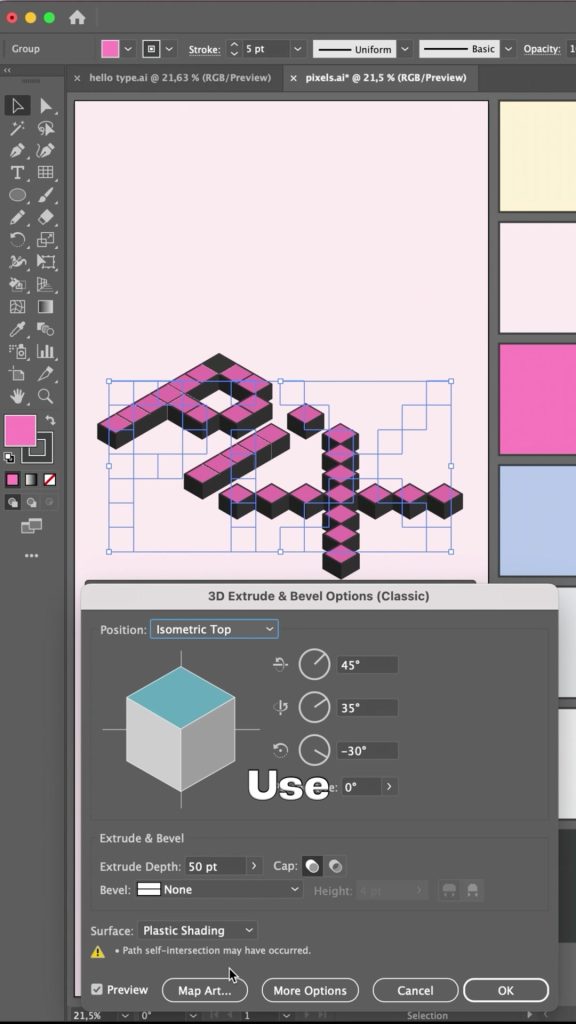
My exact 3D settings are in the steps below, so you can copy them straight off.
watch the reel at @by.annie.n.
What you need
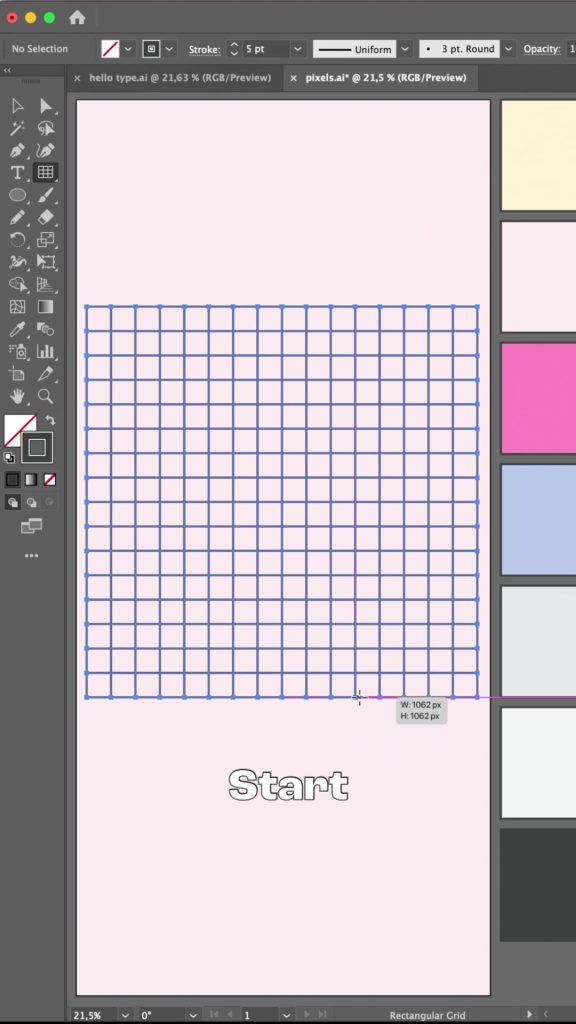
Adobe Illustrator with three tools you might not use every day: the Rectangular Grid tool (it hides under the Line Segment tool), the Live Paint Bucket (press K) and the classic 3D effect. Pick your colors first, I use pink pixels on a pale pink artboard with a dark stroke.
Draw a grid
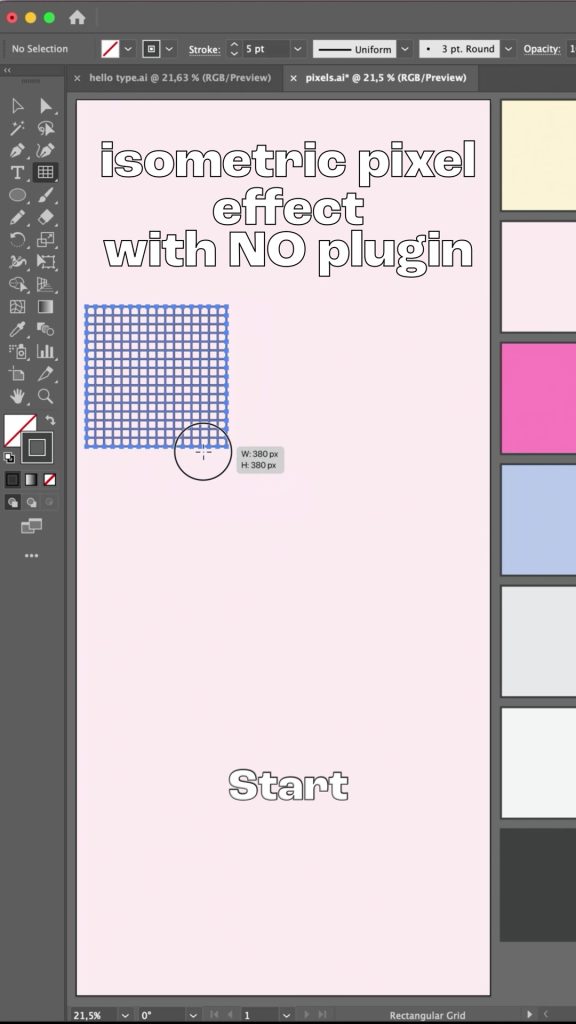
Select the Rectangular Grid tool and drag out a square. Double click the tool to set the number of dividers if you need more or fewer cells, and keep the same number horizontally and vertically so every cell is a perfect square. This grid is your canvas.
Paint the pixels
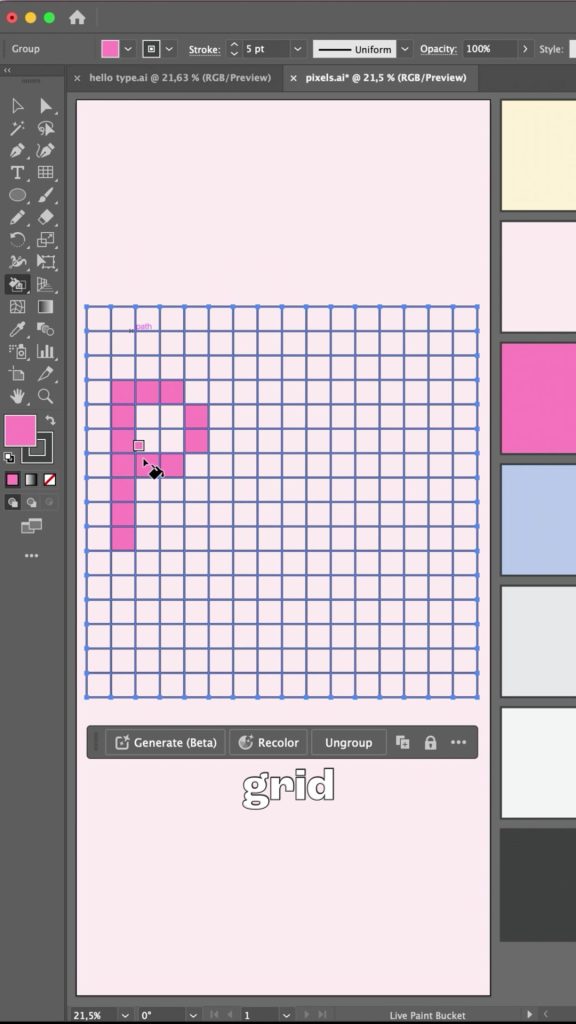
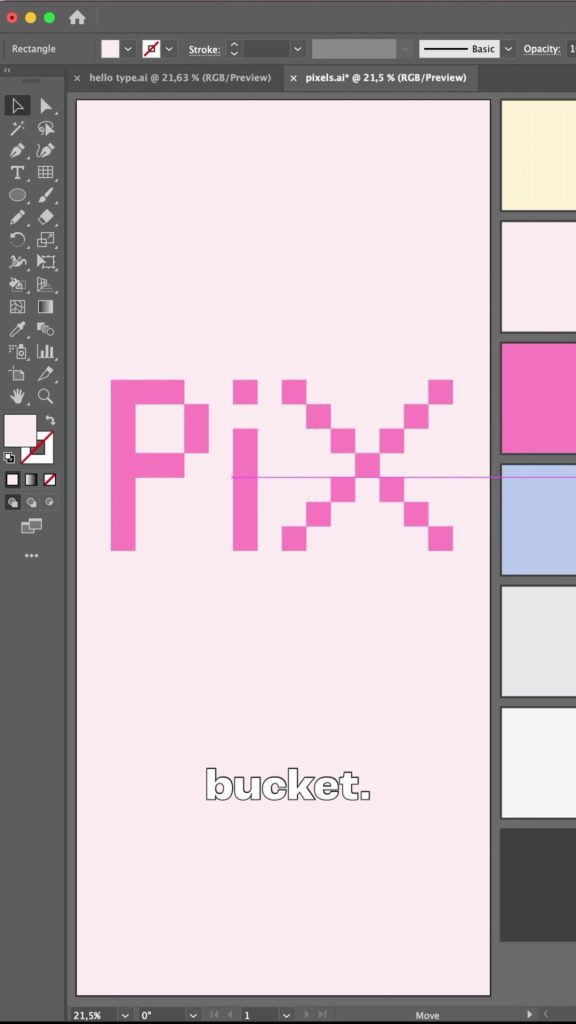
Select the grid and press K for the Live Paint Bucket. The first click turns the grid into a Live Paint group, after that every click fills one cell with your fill color. Paint your letters or your icon. Diagonals look best as a staircase of single cells.
Expand and remove the grid
Go to Object > Expand with Object, Fill and Stroke ticked, then ungroup a couple of times. Click one empty cell, use Select > Same > Fill Color and delete, and do the same for the grid lines. What is left is only your painted squares.
Optional: add a border
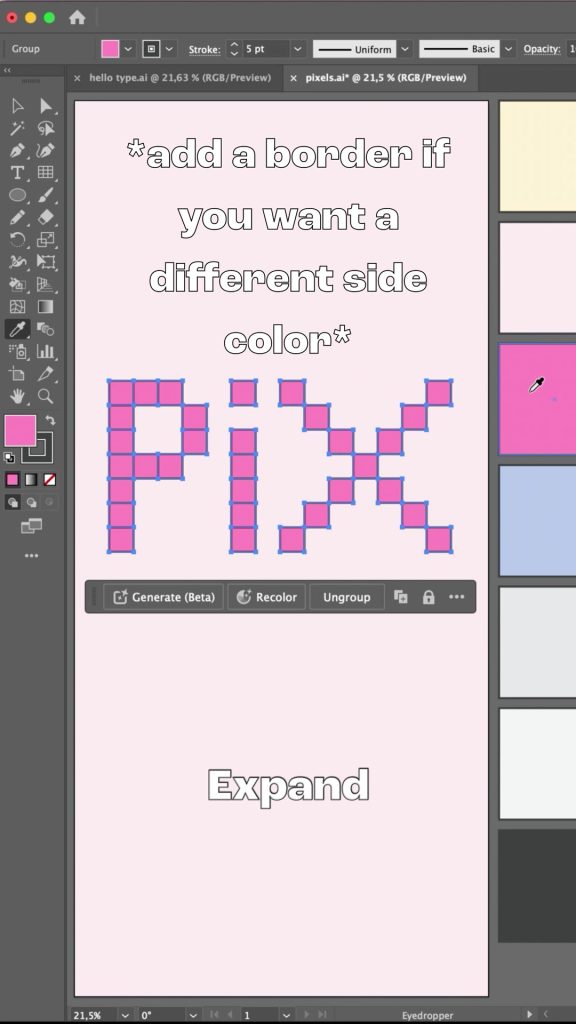
If you want the sides of the cubes in a different color than the tops, give the squares a stroke now. The 3D effect extrudes the stroke together with the fill, so the stroke color ends up on the sides. I use a dark stroke so the letters read clearly. Keep it thin, 1 to 3 pt is plenty.
Extrude in isometric
Select all the squares and go to Effect > 3D and Materials > 3D (Classic) > Extrude & Bevel (Classic). Set Position: Isometric Top, which gives you 45, 35 and -30 degrees automatically, Perspective 0, Extrude Depth 50 pt (I nudged mine up to 70 pt for chunkier cubes), Bevel: None, Cap: solid and Surface: Plastic Shading. Turn on Preview, and click OK when the cubes look right.
Expand Appearance
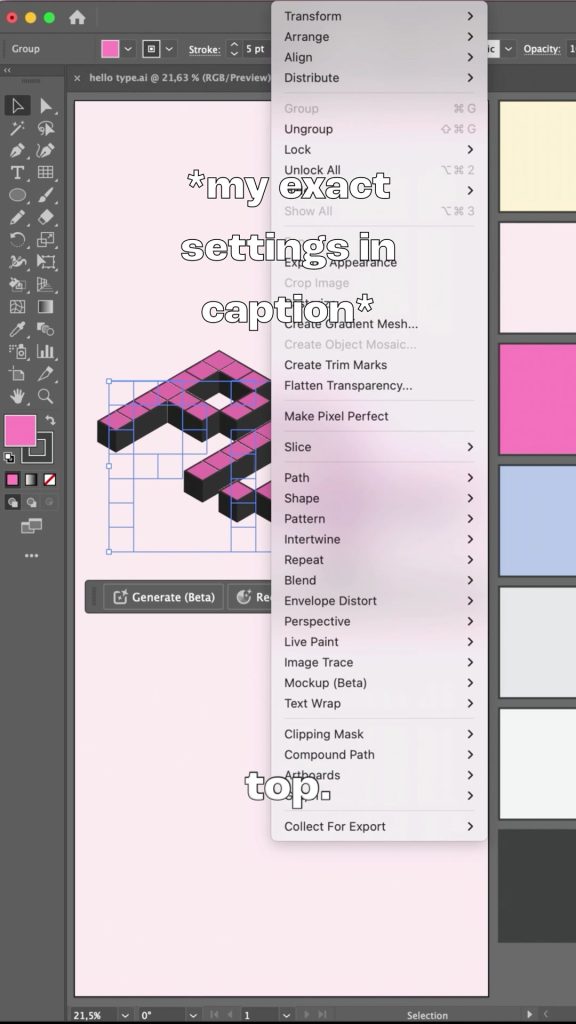
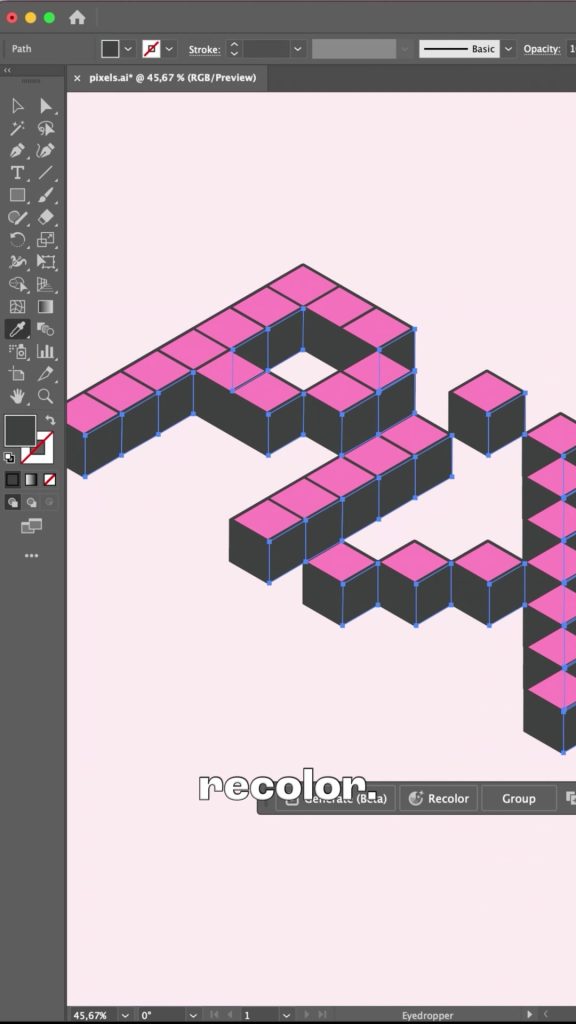
The 3D effect is live, which is great for tweaking, but to recolor the faces you need real shapes. Go to Object > Expand Appearance and ungroup a few times until you can click on a single face. Save a copy with the live effect first if you think you will want to change the depth later.
Recolor the faces
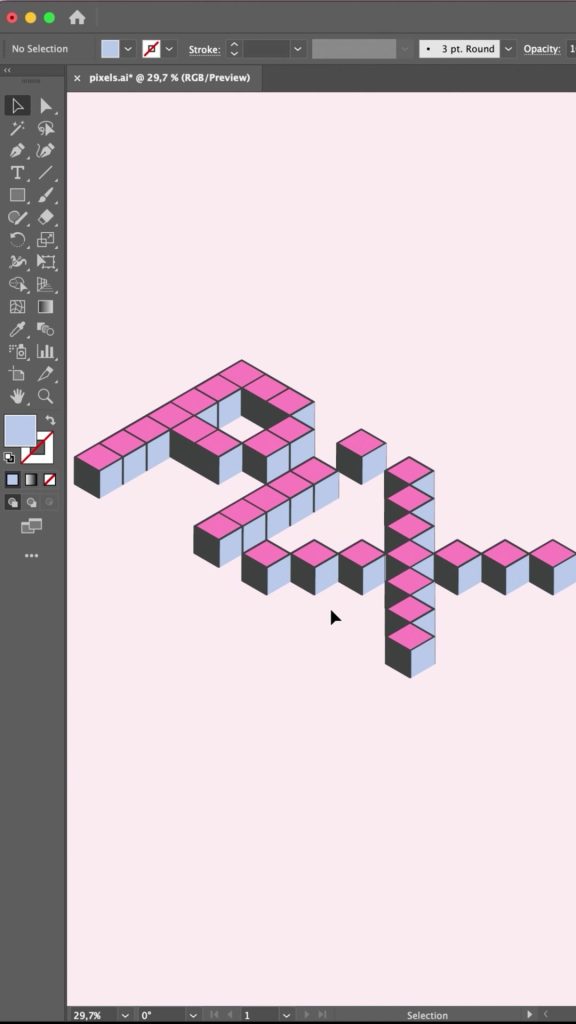
Now you can recolor. With the Direct Selection tool click one top face, use Select > Same > Fill Color and give all the tops your main color. Do the same for the left and right sides with darker or lighter tones. I like to sprinkle in a third color, a soft lavender, on a few side faces so the whole thing feels a bit more playful.
The result
Flat pixels on a grid go in, a little isometric sculpture comes out. Because everything is vector I can scale it for a sticker or a billboard and recolor it for every client without redrawing a single cube.
If the cubes overlap in strange ways, select all the squares and use Unite in Pathfinder before applying the 3D effect, so touching cells extrude as one solid block. And keep the stroke off the top faces if you want them completely flat: just set the stroke color to the same pink as the fill.
New tutorials every week.
I share quick design tutorials as short videos on Instagram and in full right here on the site. Come say hi!
Follow @by.annie.n