
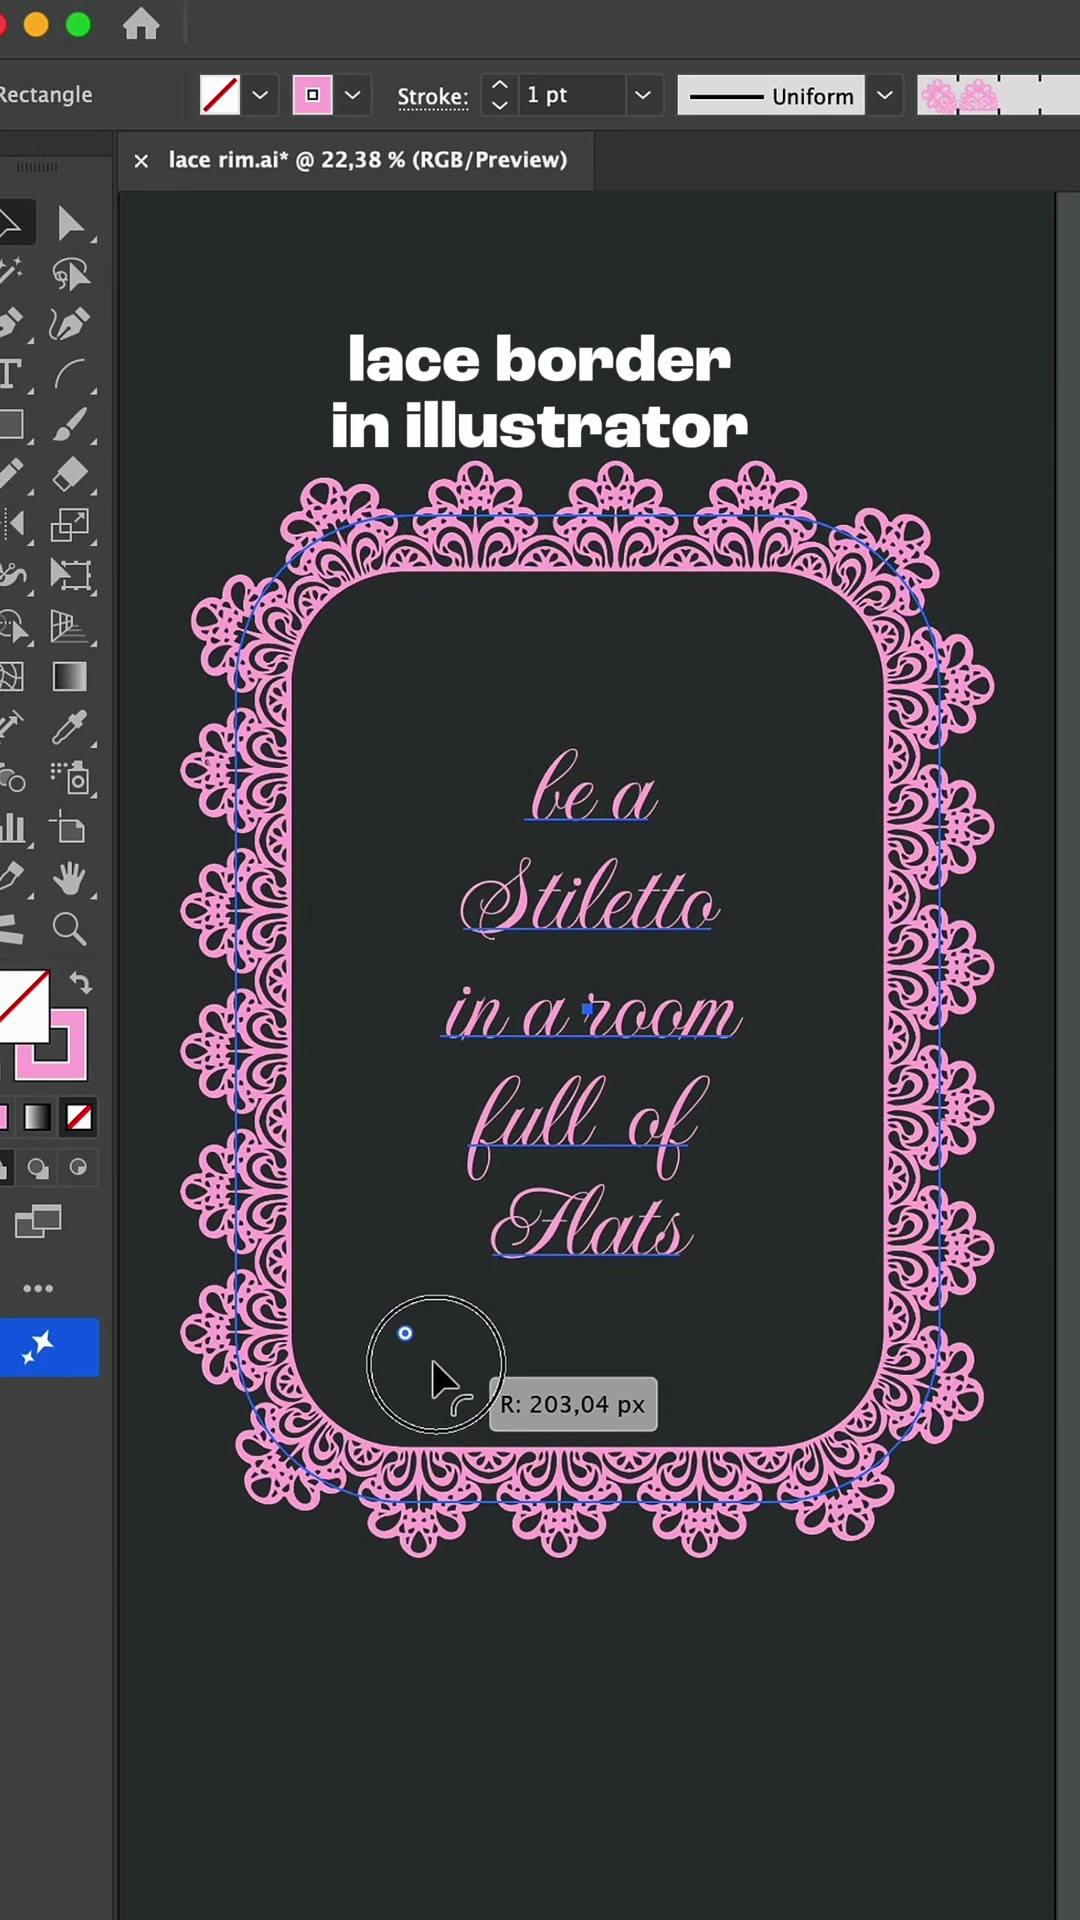
Lace Border
The idea
Lace frames show up everywhere in my work: wedding invitations, perfume labels, sweet feminine branding, anything that needs a little romance. You can buy lace brushes, but I never do. I draw one small tile, turn it into a Pattern Brush in Adobe Illustrator, and from then on I can wrap that lace around any shape I want: a heart, an oval, a rectangle, a wobbly hand drawn path. No plugins, everything stays vector, and the corners take care of themselves.
The whole trick lives in one word: symmetry. If the tile is perfectly symmetrical, the brush repeats without any visible seams, so most of the work below is about drawing one clean half and mirroring it.
watch the reel at @by.annie.n.
What you need
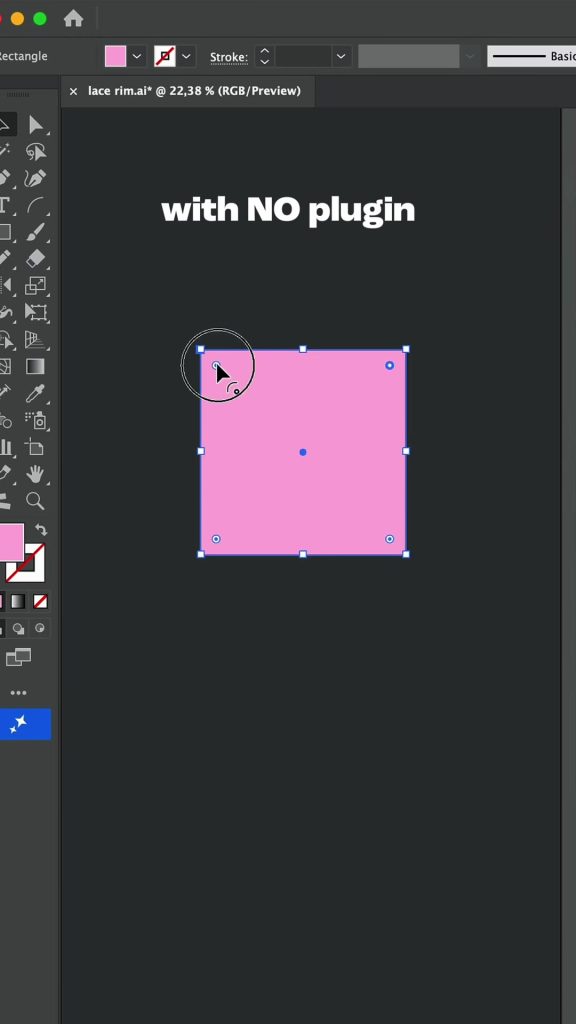
Just Adobe Illustrator and one fill color. I work on a dark artboard with a pink fill so I can see every little cutout, but any colors work. You will use the Rectangle and Ellipse tools, the Pencil tool, the Pathfinder panel and the Brushes panel. Since everything stays vector, the size of the tile does not matter for quality. I still draw it fairly big, simply because it is easier to work on the details.
Start by drawing a square with the Rectangle tool. Mine is about 400 px.
Round it and add circles
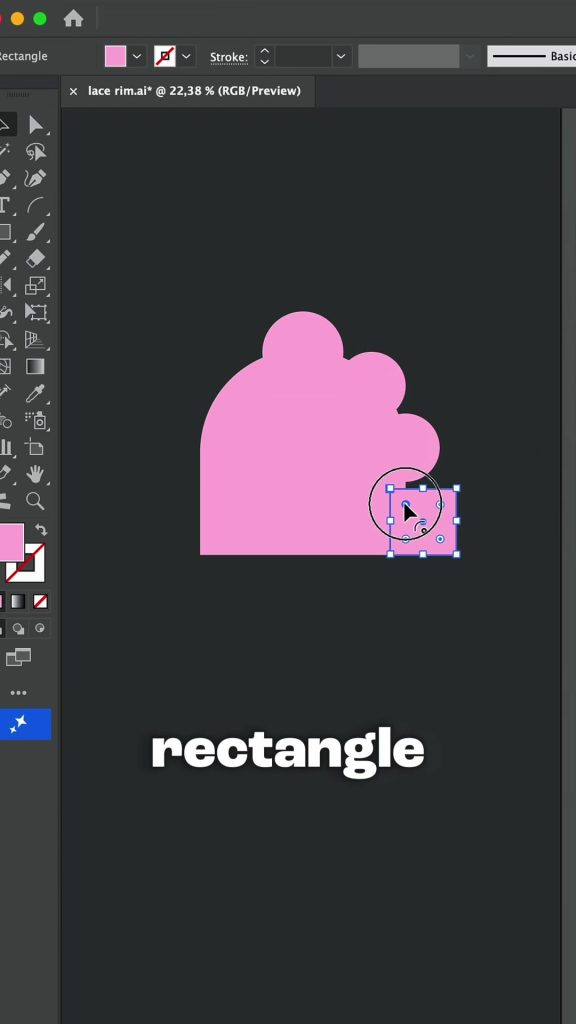
Drag one of the corner widgets inward to turn the square into a rounded rectangle. Then grab the Ellipse tool, hold Shift and add circles along the top edge and one side, overlapping the rectangle and each other. This is what gives lace its soft scalloped edge. Keep it symmetrical: the same circle sizes in the same spots, and one circle right in the middle of the top edge.
Crop it in half with Pathfinder
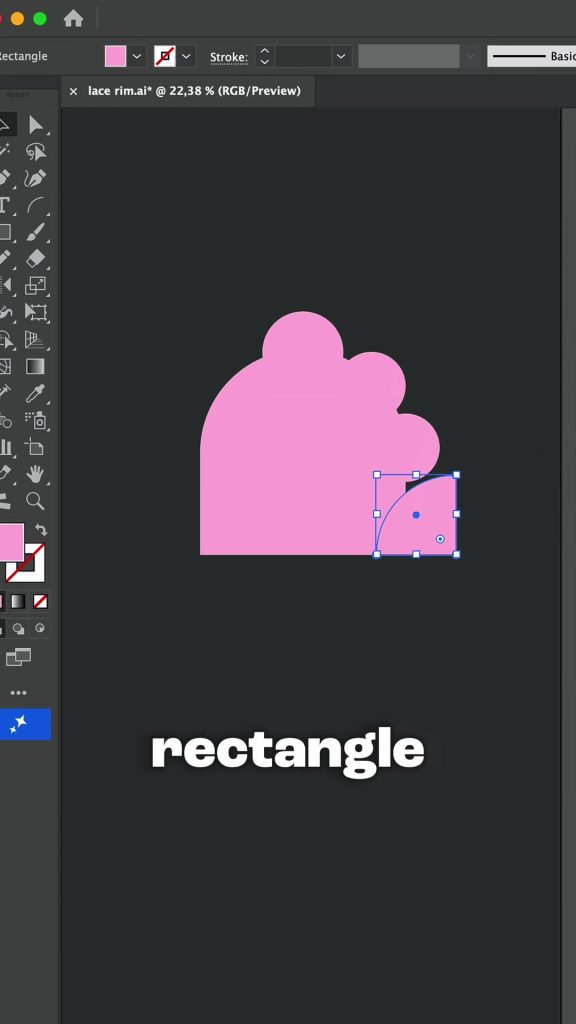
Select everything and click Unite in Window > Pathfinder so the rectangle and circles become one shape. Then draw a plain rectangle over the half you do not need, select both, and click Minus Front. You are left with one half that has a perfectly straight edge on one side. That straight edge is the mirror line. I use the same trick to nip a small notch out of the bottom corner, which becomes the little dip between two scallops.
Draw the lace details
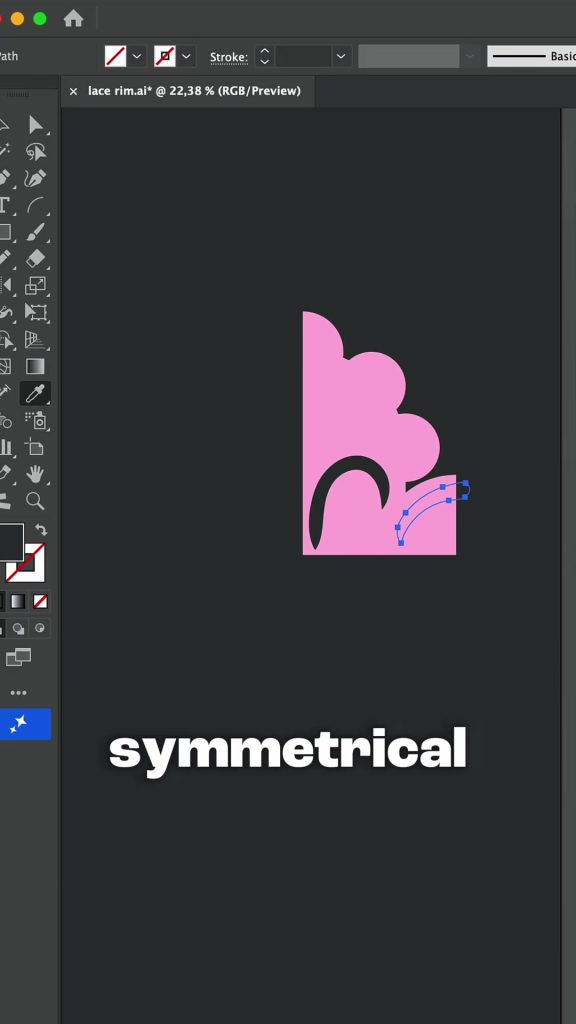
Press N for the Pencil tool and draw the lace details inside the half: a curl that follows the outer edge, a few teardrops, some small dots and holes. Close each shape as you draw it. Keep the details chunky rather than fine. Very thin cutouts end up as hairlines when the brush is used small on a label, and the lace loses its charm.
Punch the details out
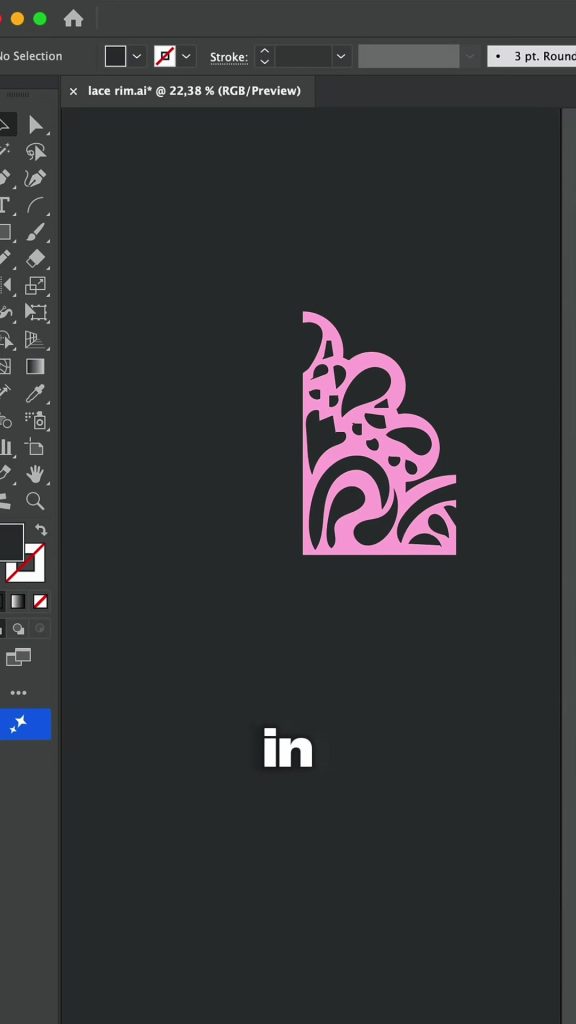
Select the small shapes together with the base and click Minus Front in Pathfinder again, so every detail is cut out of the pink. Now the half looks like real lace. If a cutout ends up too close to the straight edge, move it in a little, otherwise it will merge with its mirror image.
Mirror it
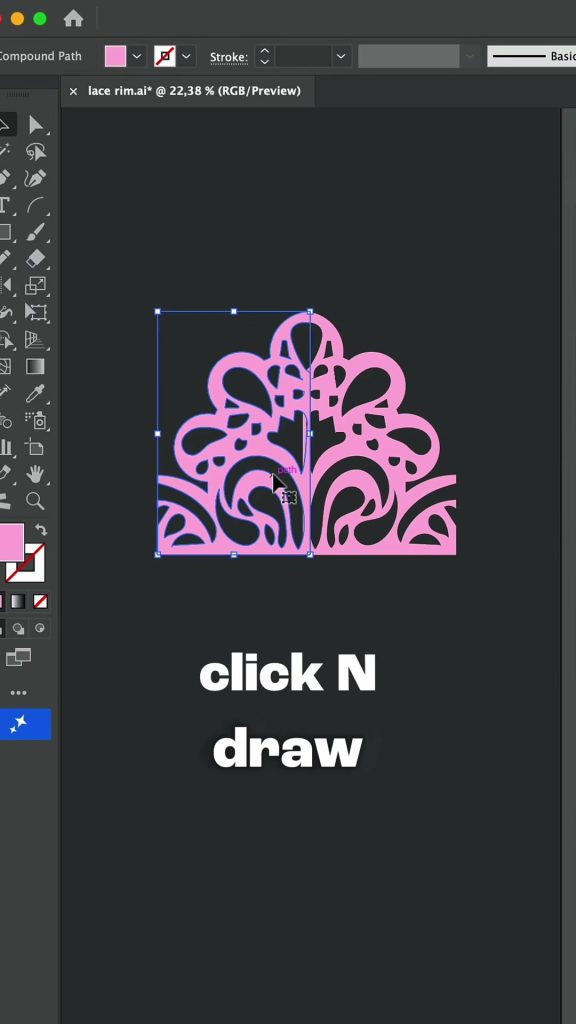
Select the half, press O for the Reflect tool, hold Alt (Option on Mac) and click anywhere on the straight edge. Choose Vertical and press Copy. Slide the copy so the two straight edges meet exactly, then select both and click Unite in Pathfinder. That is your tile, and it is symmetrical by construction.
Turn it into a Pattern Brush
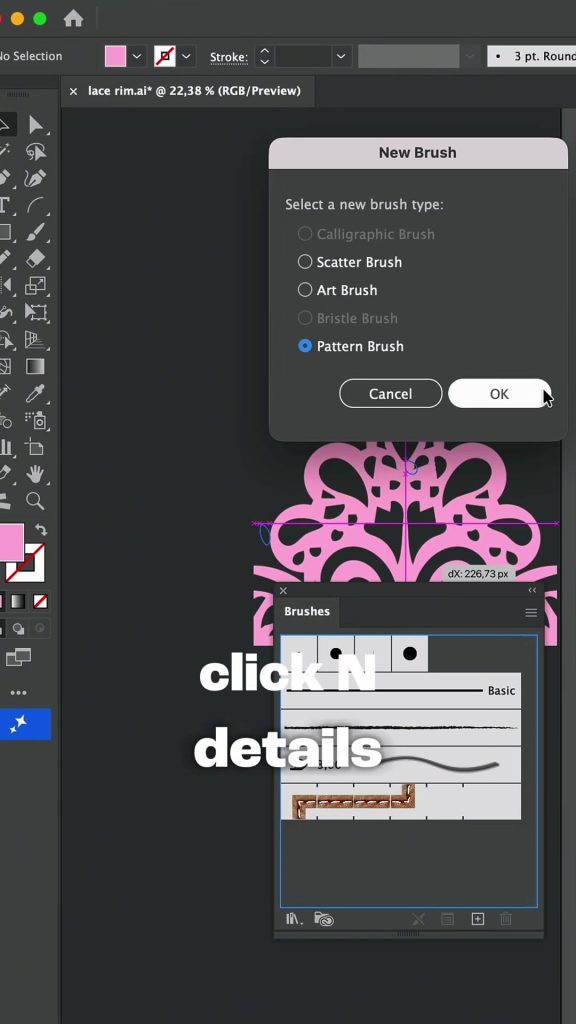
Open Window > Brushes and simply drag the tile into the Brushes panel. In the New Brush dialog that pops up, pick Pattern Brush and click OK.
Set the corner tiles
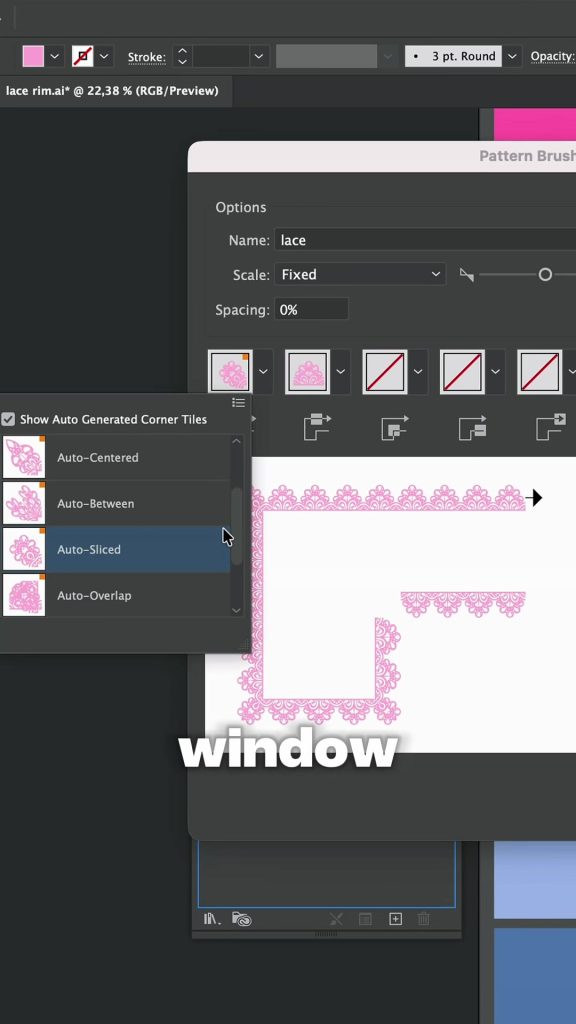
In Pattern Brush Options give the brush a name, I call mine lace, and keep Scale: Fixed and Spacing: 0% so the tiles sit edge to edge. Tick Show Auto Generated Corner Tiles and open the outer corner tile menu. I pick Auto-Sliced, which slices the tile diagonally around corners so rectangles get a neat mitered corner. Auto-Between also looks lovely, so try both in the preview and click OK.
Use the brush
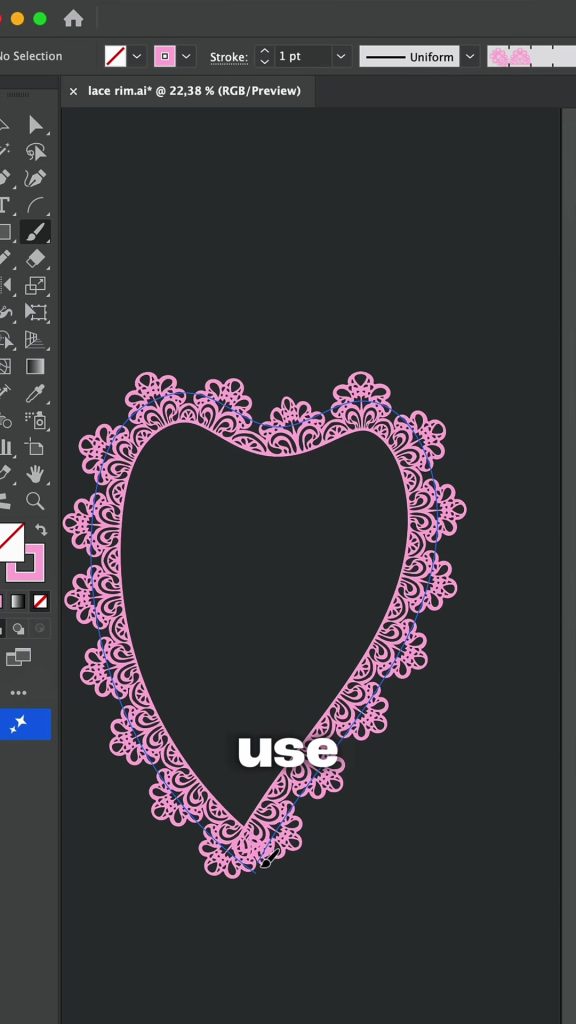
Now draw any path with no fill, an oval, a heart, a rectangle, even a loose Pencil line, and click the lace brush in the Brushes panel. The lace wraps around the path and the corners build themselves. To make the lace bigger or smaller, change the stroke weight, or double click the brush and adjust Scale. If a curve looks crowded, smooth the path a little with fewer anchor points.
The result
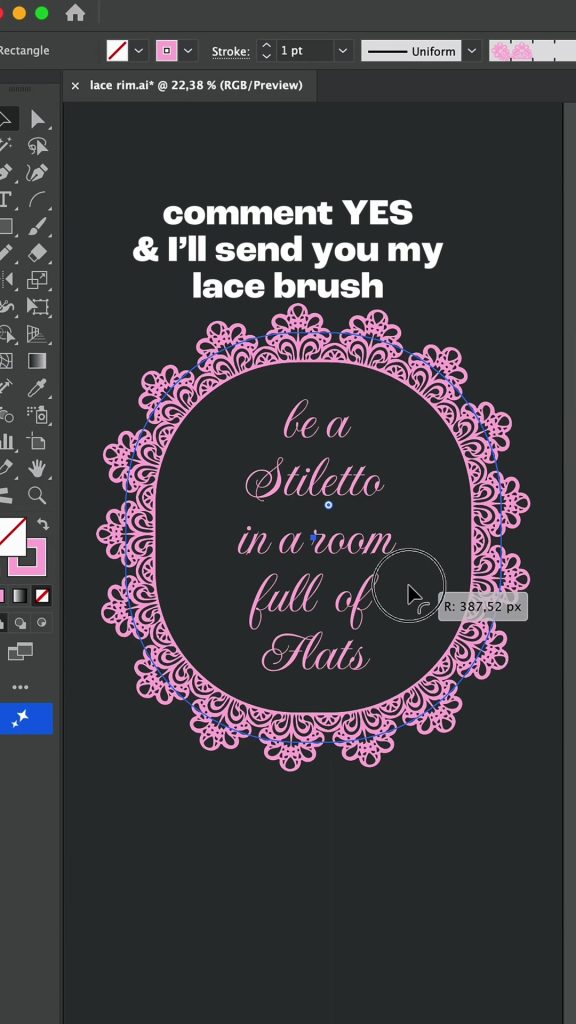
One little tile, one Pattern Brush, endless lace frames. Because the brush is vector I can recolor it, scale it for a tiny label or a huge poster, and keep reusing it in every project that wants a romantic edge.
A few things I have learned making lace brushes: keep the tile simple, three or four kinds of cutouts are plenty, the repetition does the rest. Save the brush through the Brush Libraries menu so it follows you into new documents. And if the lace looks too heavy, lower the stroke weight before you touch the tile, it is usually all it needs.
New tutorials every week.
I share quick design tutorials as short videos on Instagram and in full right here on the site. Come say hi!
Follow @by.annie.n